DIY Dessert Table Ideas for Your Wedding (And When to Call in Help)
Every couple planning a wedding eventually lands on the same question: can we pull off a DIY dessert table, or is that the thing that tips a perfectly manageable to-do list into chaos? The answer is genuinely nuanced. DIY dessert table ideas for weddings range from completely achievable weekend projects to ambitious undertakings that quietly consume the two weeks before your ceremony. Knowing which category your vision falls into — before you commit — is the most useful thing this guide can offer you.
We work with couples across the GTA — from Markham to Mississauga, Vaughan to Scarborough — and we hear the same story regularly. Someone spent six weeks pinning beautiful tablescapes, ordered risers from three different shops, baked 200 macarons, and then realized at 9 a.m. on their wedding day that nobody had figured out who was going to drive it all to the venue. This guide covers the ideas that actually work, the decisions that matter most, and the honest middle ground between full DIY and full catering.
What Makes a Wedding Dessert Table Look Designed, Not Just Assembled?
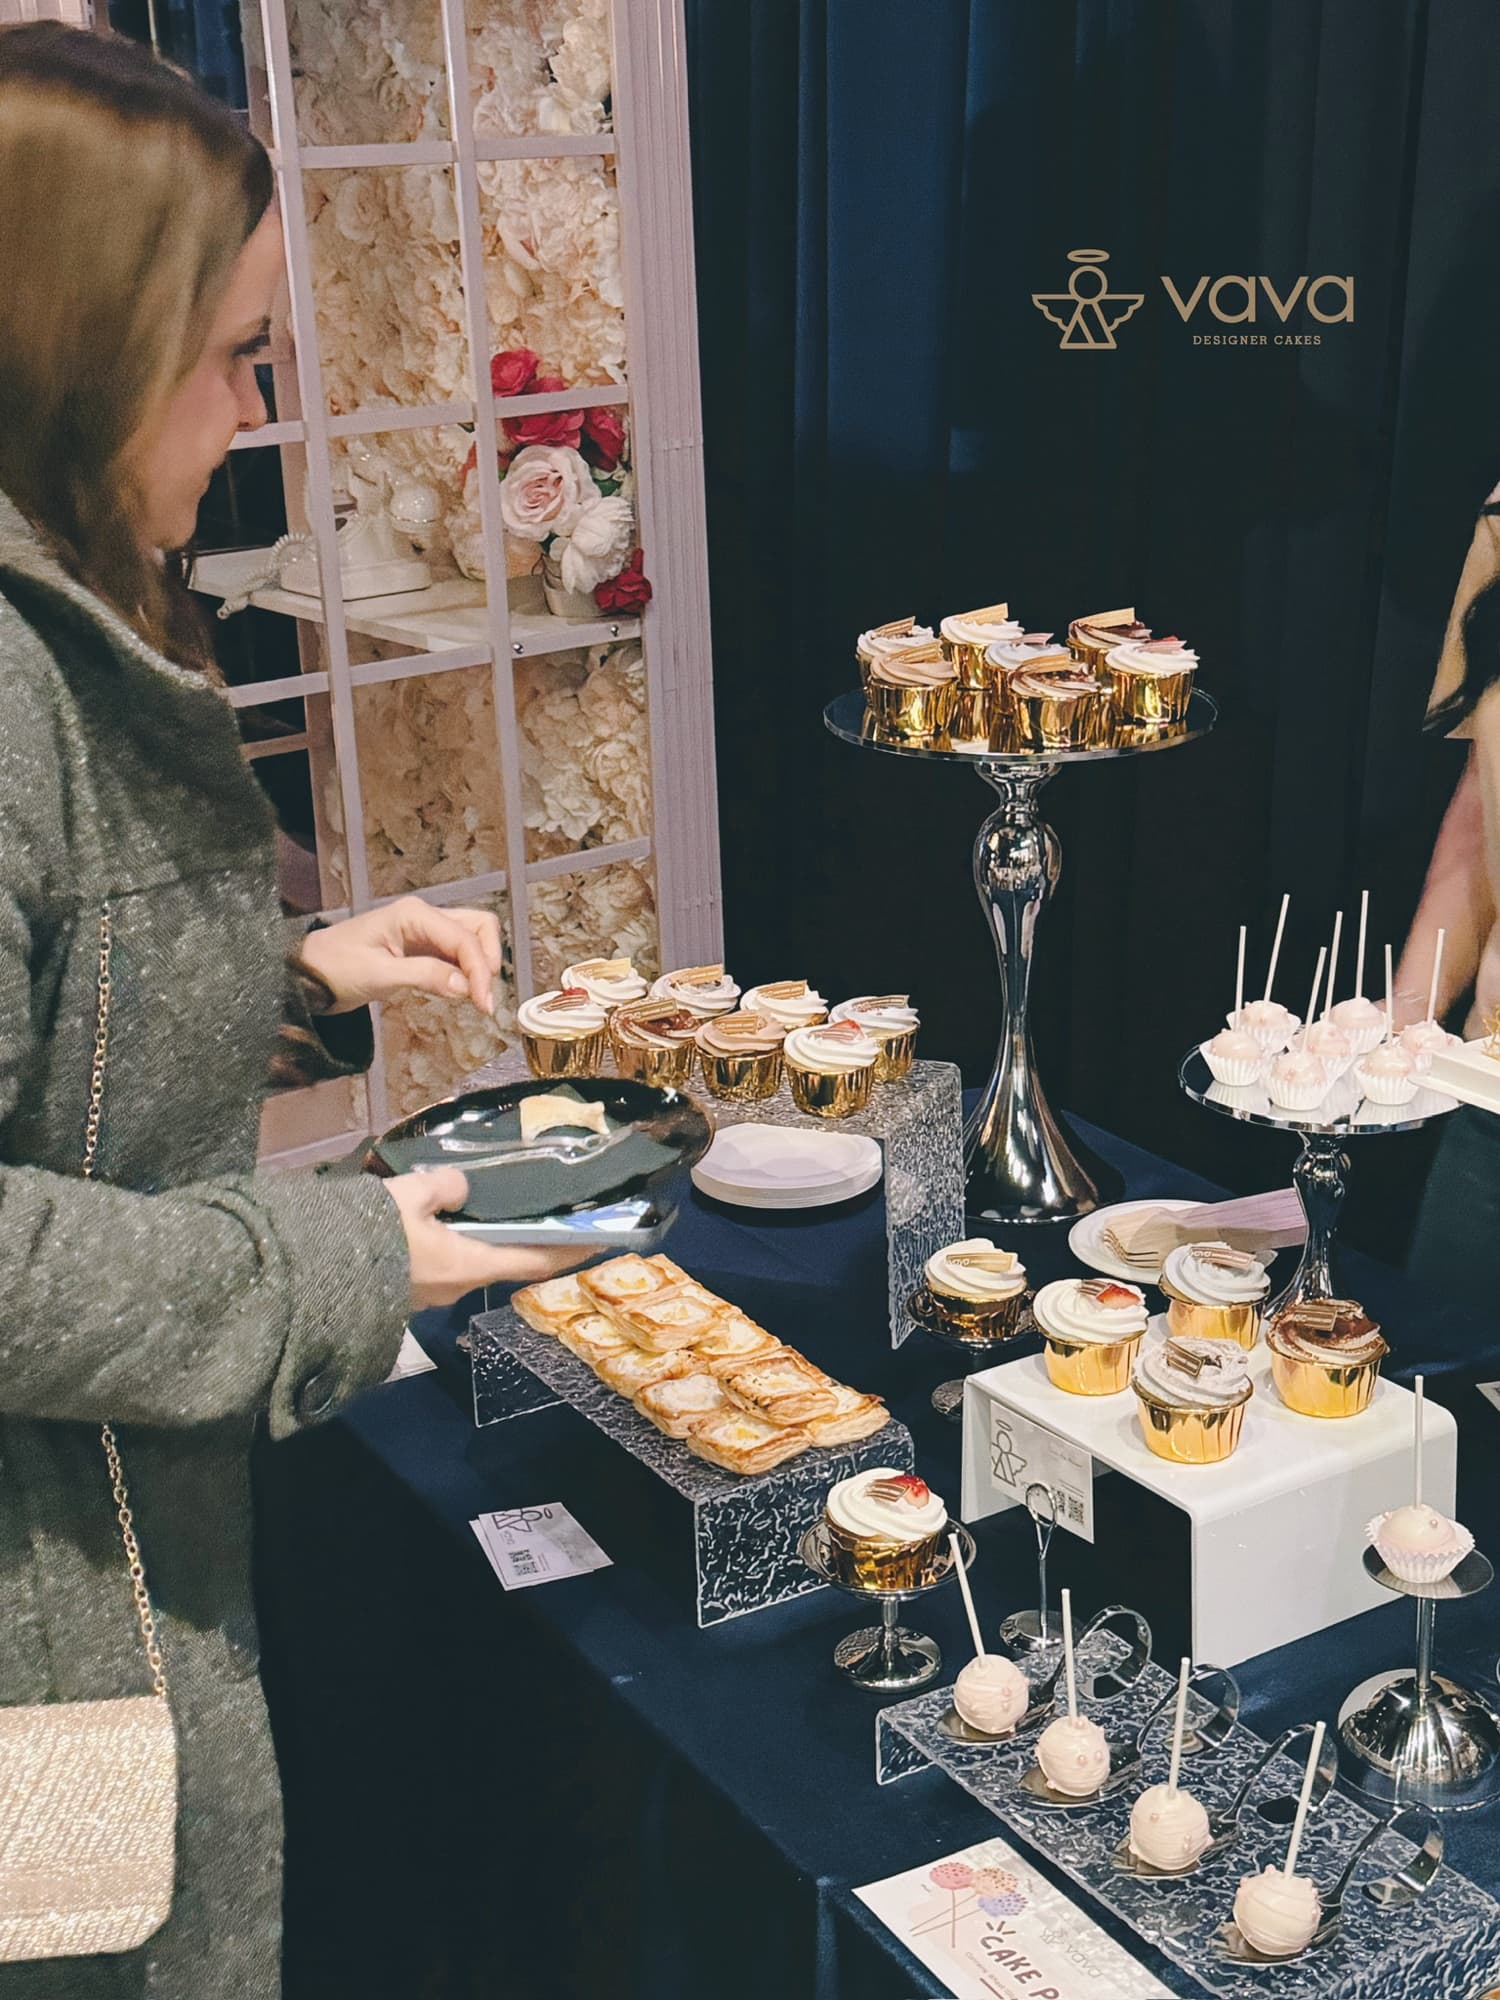
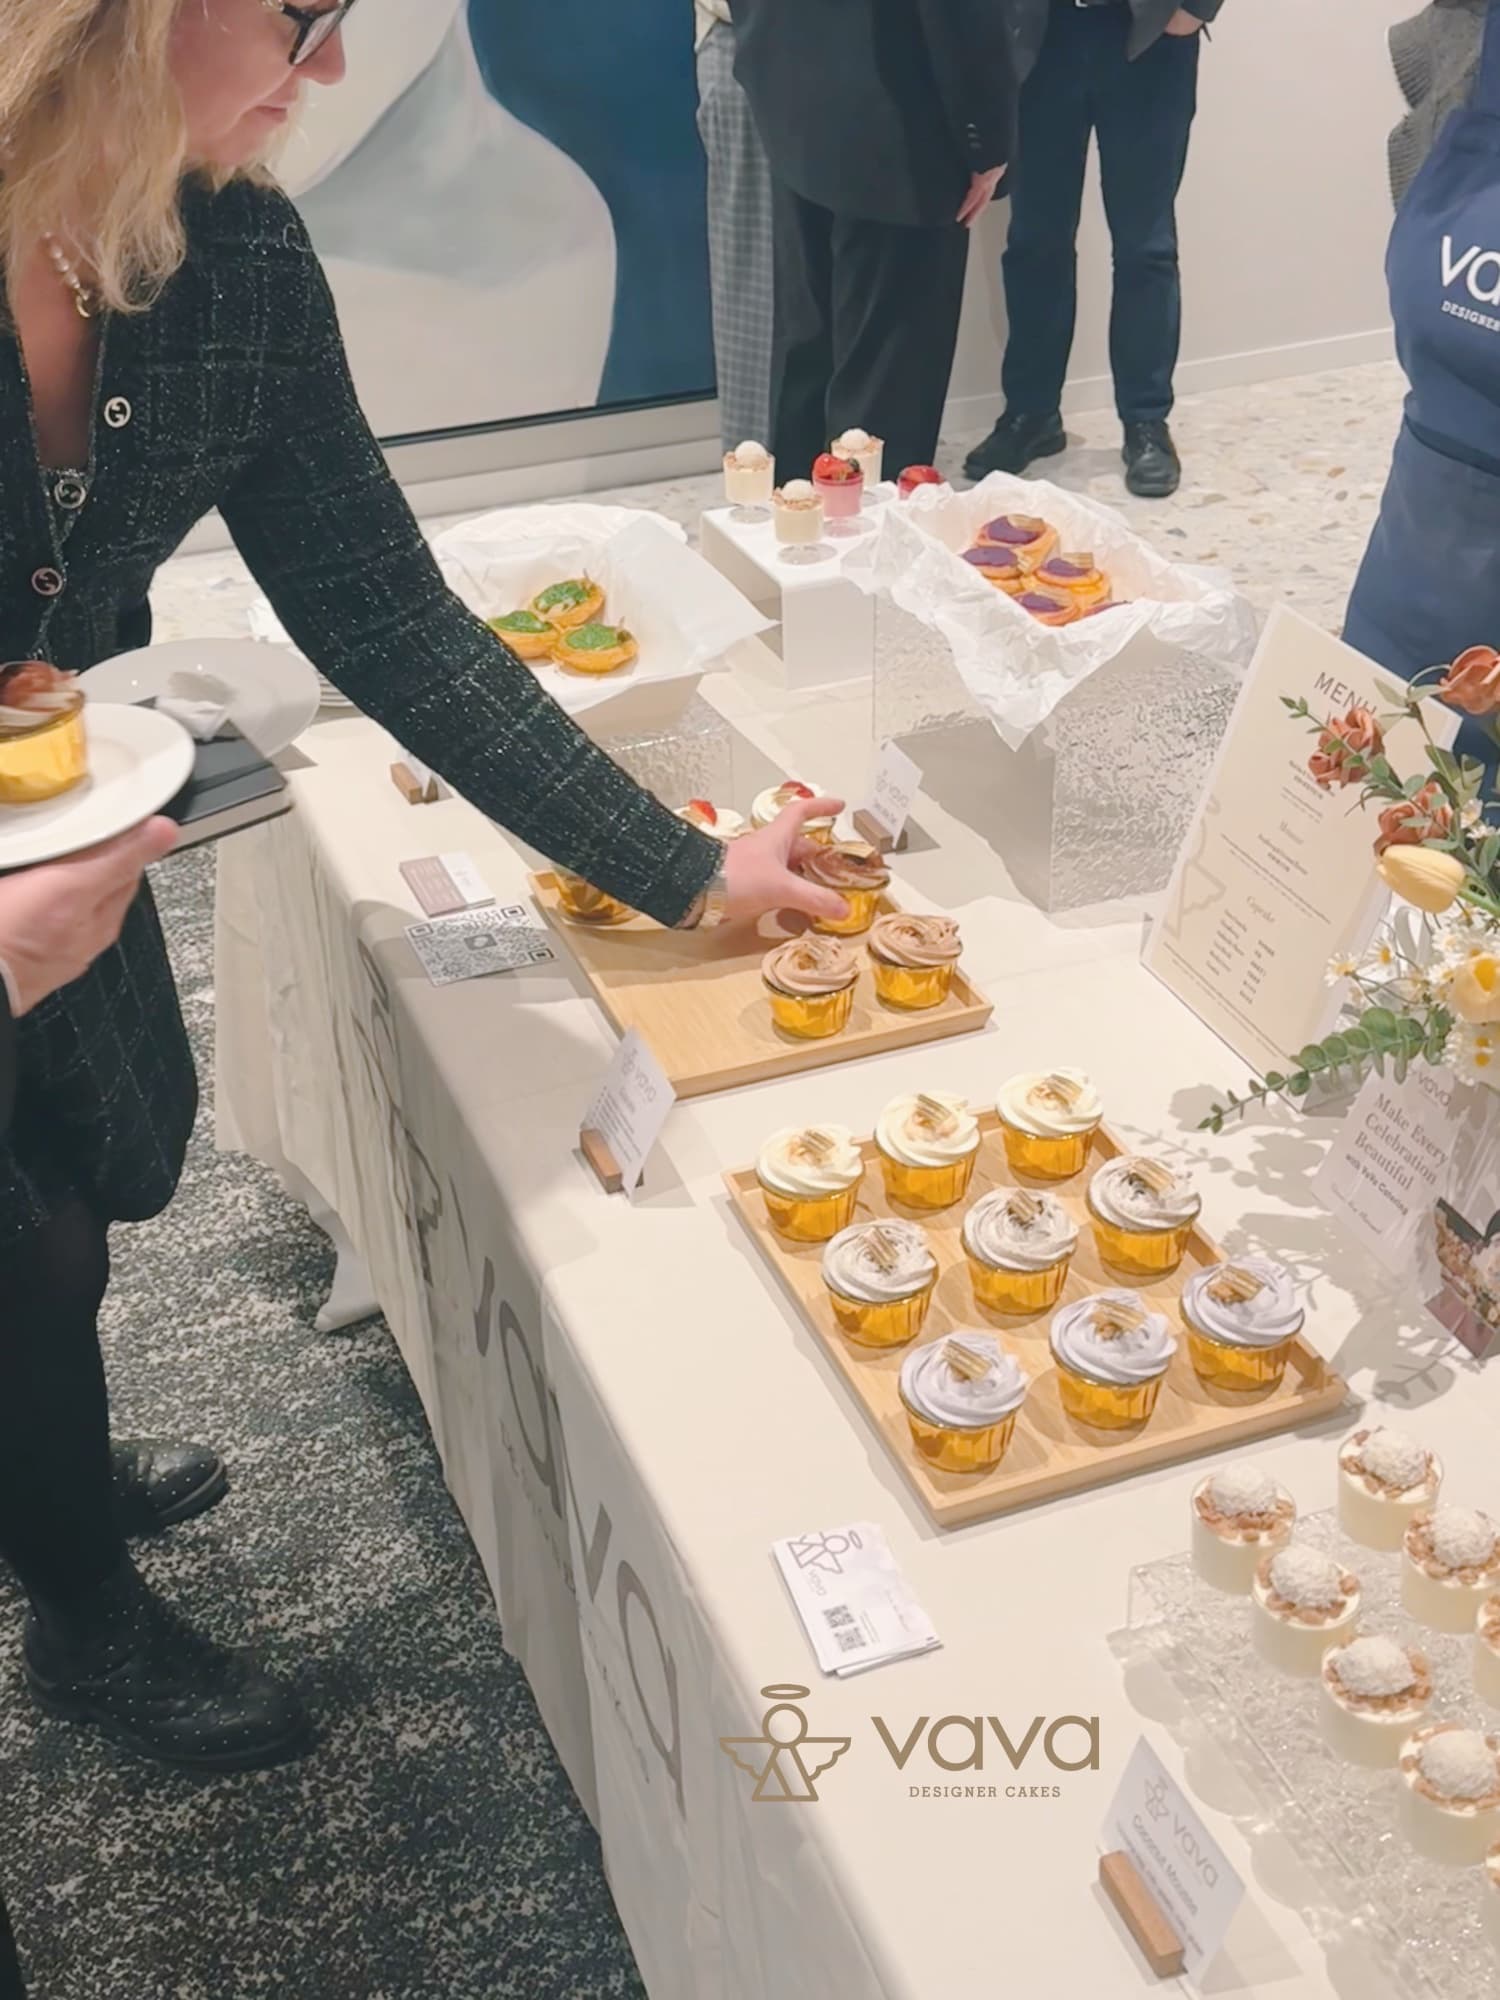
The single biggest difference between a dessert table that photographs beautifully and one that looks like a bake sale is intentional visual architecture — not the number of items on it. A well-designed table has height variation, a controlled colour palette, and enough negative space that each piece reads clearly. That principle applies whether you're managing everything yourself or working with a professional team, and it's the first thing we assess when a couple shares a Pinterest board with us at Vava Dessert Tables.
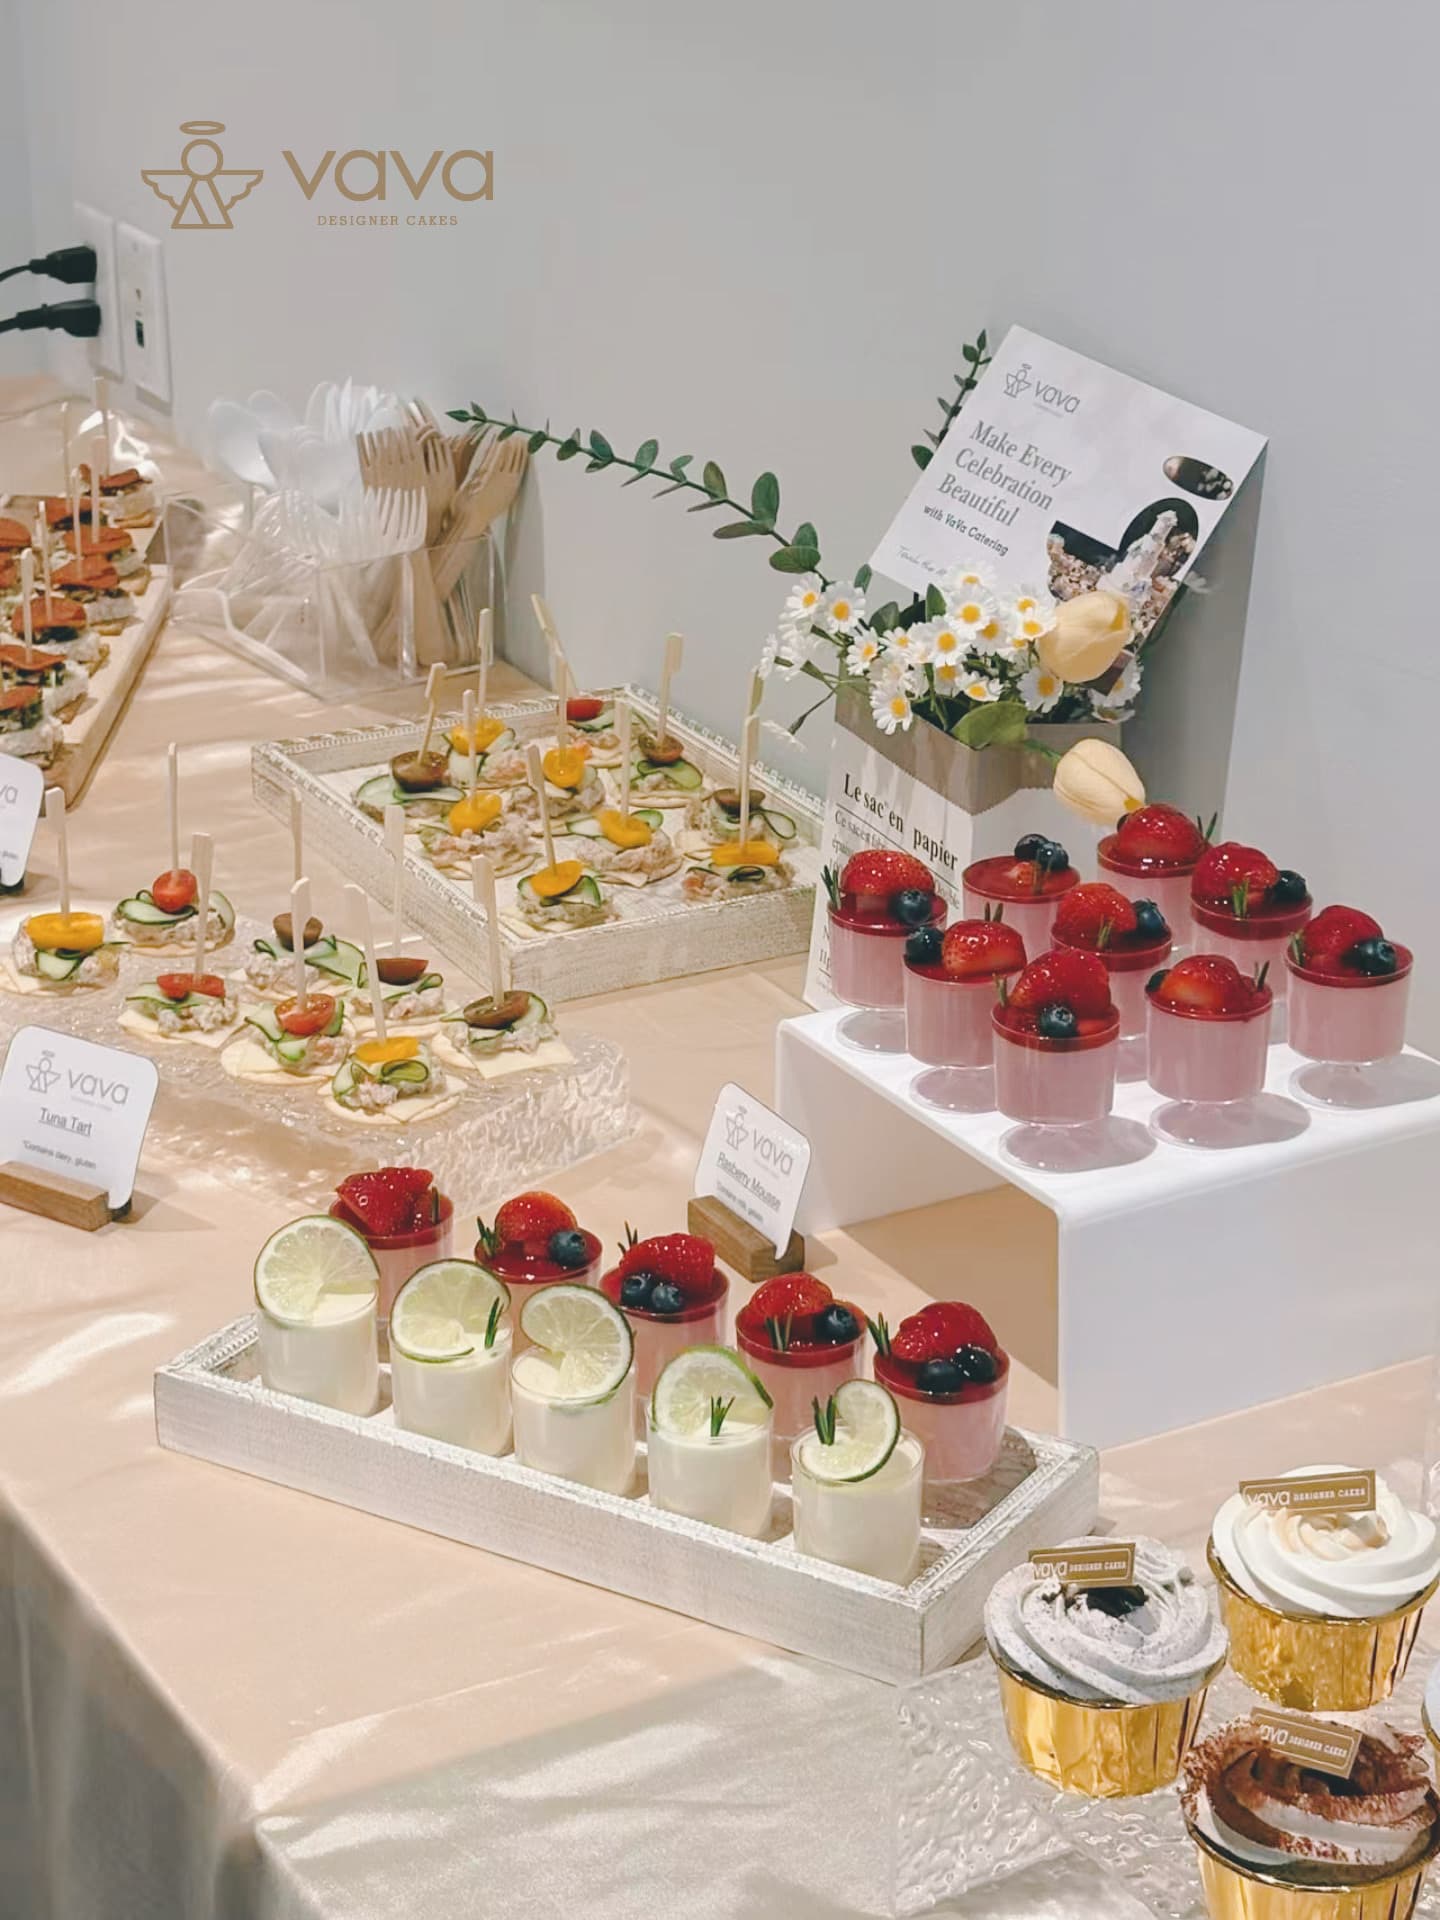
Height is the fastest fix. Use cake stands at three different levels — low, mid, and tall — and cluster items in odd-numbered groups. Three macarons stacked in a cone, five mini tarts on a slate board, one taller cake on a pedestal. The eye reads odd groupings as intentional. Even numbers read as leftover.
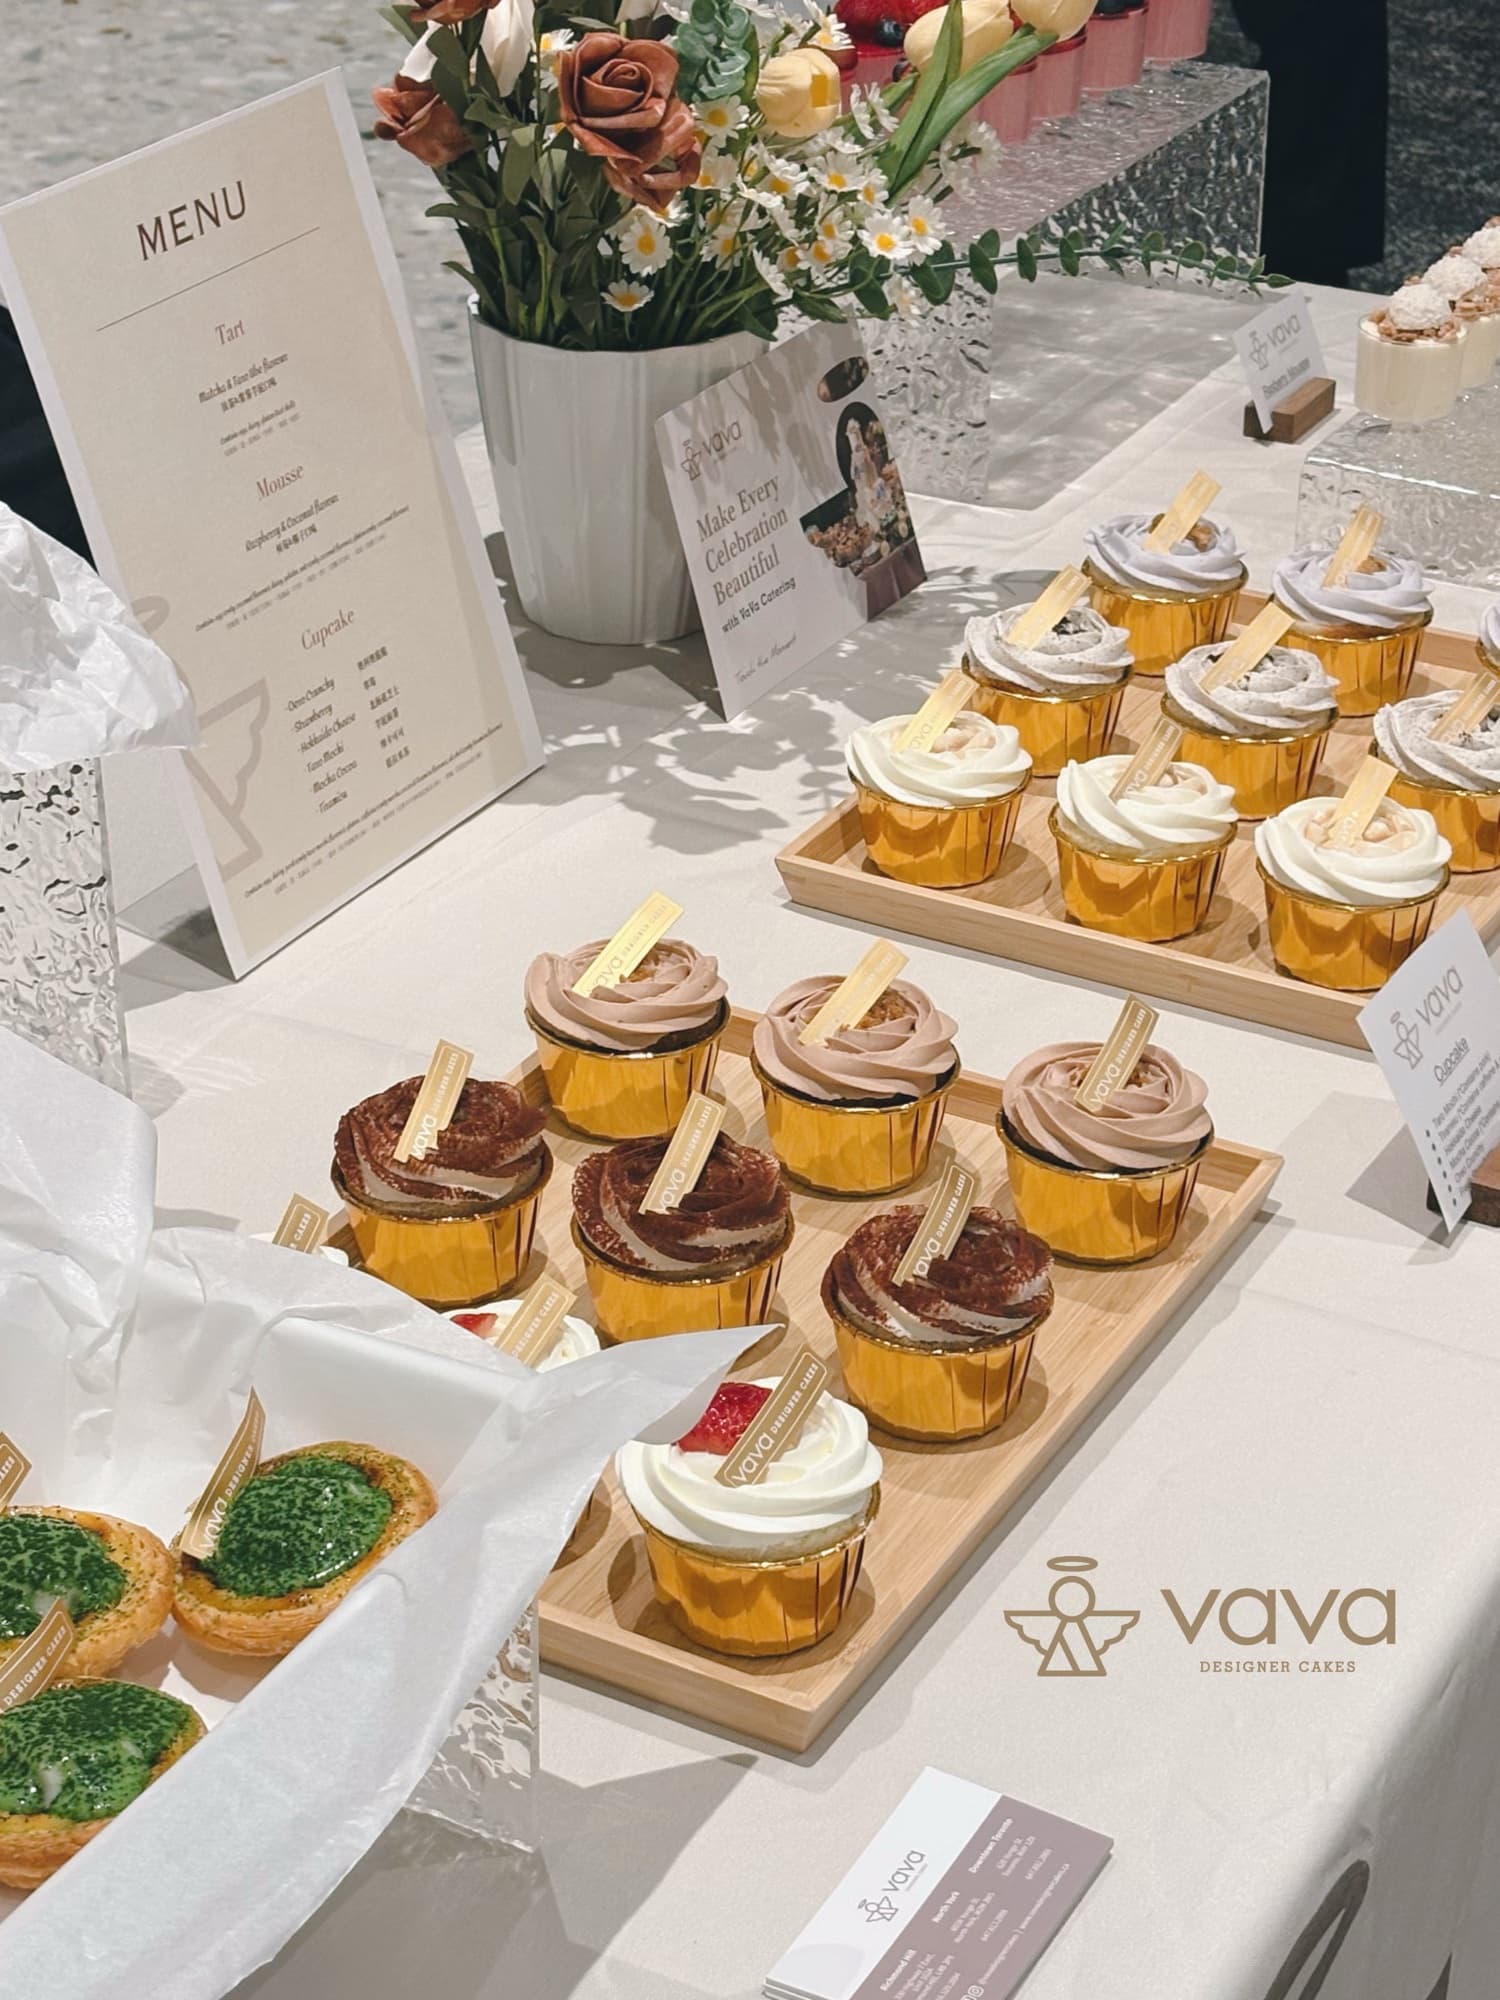
Colour discipline matters more than most DIY guides admit. Pick two accent colours and one neutral, then hold that line across every element: the desserts themselves, the linens, the risers, the signage, even the florals if you're including them. When we style a table, we colour-match down to the ribbon on the dessert tags. You can absolutely do a version of this yourself — it just requires committing to the palette before you buy a single item and resisting the urge to add "just one more colour" at the last minute.
One more thing: the table edge. A bare folding table with a cloth thrown over it reads as temporary. Add a skirt, a wooden frame, or a proper linen that grazes the floor, and the whole setup reads as an installation rather than a buffet. That one change, more than any specific dessert choice, is what separates a table guests photograph from one they simply eat from.
Simple DIY Wedding Dessert Table Ideas That Actually Work at Scale
Three dessert formats consistently succeed in a DIY context: items that can be made days ahead, items that hold their shape at room temperature for three to four hours, and items that don't require on-site assembly. Anything outside those three criteria adds real risk on a day when your margin for error is already thin.
Here's a format that works well for 80–120 guests without requiring professional equipment or same-day baking:
- Shortbread cookies, custom-cut and iced. Can be baked and decorated five days ahead. Holds perfectly at room temperature. Stack in clear jars or on tiered stands.
- Brownie bites. Bake two days ahead, cut small, dust with powdered sugar or dip in chocolate. Extremely forgiving to transport.
- Mini meringues. Make up to a week ahead in a dry environment. Visually striking in a tall apothecary jar. Cost-efficient per piece and they carry outsized visual weight relative to their quantity on the table.
- Purchased macarons in your palette colours. Honestly, this is the one place most couples should buy rather than bake. Macarons are technically demanding, and a failed batch two days before your wedding is a real risk. Many GTA bakeries sell them by the dozen in custom colours with one to two weeks' notice.
- Chocolate bark, broken into irregular shards. Melt, pour, add toppings — freeze-dried raspberries, pistachios, edible gold leaf — refrigerate, break. Make three days ahead. Looks artisan, costs very little per serving.
- Cake pops or truffle balls. These travel well in a foam block and display beautifully upright. Make three days ahead and refrigerate.
- One centrepiece cake from a professional baker. Even the most committed DIY couple usually benefits from having one anchor cake that's properly structured and decorated. It sets the tone for everything around it.
For a wedding reception with 100 guests, plan for roughly 3–4 pieces per person if you're running a full dessert table alongside a plated dessert, or 5–7 pieces per person if the table is the primary dessert service. Those numbers hold whether you're going DIY or working with a professional wedding dessert team.
The "buy the macarons, DIY everything else" approach is something we recommend to couples who want the look of a full table without tackling the most technically demanding bake on the list. Macarons carry outsized visual weight relative to their quantity — a cone of 20 in your exact palette colour anchors a table the way few other items can, and purchasing them from a reliable GTA bakery removes the highest-risk variable from your prep week entirely.
How to Make a Sweet Table for a Wedding: The Logistics Nobody Talks About
Most DIY dessert table guides stop at the recipe list. The part that actually determines success is the 18 hours before the table goes live — and that's where most self-managed tables run into trouble. Setup time, transport conditions, and mid-reception upkeep are the three variables that separate a table that looks great all evening from one that looks picked-over by 8 p.m.
Start with a written timeline that works backward from your ceremony start. If your reception begins at 6 p.m. and you want the dessert table open by 7:30 p.m., you need everything set up by 7:15 p.m. That means arriving at the venue with all items by 6:30 p.m. at the latest. That means loading the car by 5:45 p.m. That means everything packed and ready by 5:30 p.m. On your wedding day. While you are in your dress or suit. You see the problem.
The most practical solution is to assign a dedicated setup person — a trusted friend or family member with a printed diagram of the table layout, a labelled box for each section, and your phone number for questions. Brief them two weeks out, not the morning of.
Transport is the other underestimated challenge. Tiered cakes and anything with a cream filling need to stay cool. Meringues and macarons need to stay dry. If you're driving more than 20 minutes to a venue in Vaughan or Richmond Hill in July, you need a cooler, not just the back seat. We've seen beautiful DIY tables arrive perfectly made and then sit in a warm car for 45 minutes while someone hunted for a parking spot.
One logistical detail that separates a managed table from a DIY one: mid-reception restocking. A professionally styled sweet table gets refreshed and re-arranged as items are taken. A DIY table, once it's been picked over by 60 guests, often looks sparse and a bit sad by the time the dancing starts. If you're going DIY, plan for a designated person to do a 9 p.m. tidy — consolidate items onto fewer risers so the table still reads as full rather than depleted.
Wedding Dessert Table Ideas on a Budget: What Actually Moves the Quote (or Your Shopping List)
The same four layers determine what you'll spend on a dessert table — whether you're costing out a DIY build or requesting a quote from a professional team. Understanding which of those layers you can control, and which you can't, is the fastest way to make smart planning decisions without sticker shock at either end.
| Layer | DIY approach | What moves the quote |
|---|---|---|
| The desserts themselves | You bake, buy wholesale ingredients, or purchase select items | Guest count, variety depth, how many items require refrigeration or same-day prep |
| Styling and rentals | Risers, linens, signage, florals — sourced from party rental shops or purchased outright | Number of height levels, whether you buy or rent, custom vs. generic signage |
| Setup labour | You and your designated helper | Table size, complexity of the layout, distance from prep area to display |
| Venue logistics | Venue's table dimensions, access time, whether they allow outside catering | Load-in window, parking, refrigeration available on-site |
The most budget-conscious DIY tables lean heavily on items that look expensive but aren't: meringue kisses, chocolate bark, shortbread, and fresh fruit skewers. The items that quietly inflate a DIY budget are the styling pieces — risers, cake stands, linen that actually fits the table, and custom signage. Renting those items from a party rental company in the GTA is almost always more economical than purchasing them once for one event.
If you're weighing DIY against a professional dessert catering service, the honest comparison isn't just ingredient cost versus quote cost. It's ingredient cost plus rental cost plus your time plus the risk of something going wrong on the one day you cannot afford a redo. That calculation lands differently for every couple — but it's worth doing with all the variables on the table, not just the ones that are easy to count.
Where DIY Ends and Professional Help Makes Sense
There's a version of DIY that works beautifully: you handle the baking and the personal touches, and you bring in professional styling for the display itself. This hybrid approach works well for couples who want the warmth of homemade items — a family recipe cookie, a grandmother's shortbread — but don't want to spend their wedding morning arranging risers and colour-matching linen to place cards.
In our experience across GTA weddings, dessert bars and sweet tables have grown steadily as a reception feature. We see this particularly in Italian and Portuguese communities across Woodbridge, Vaughan, and North York — the sweet table tradition there has always blended family recipes with professional presentation, and the hybrid model fits that culture naturally. The desserts carry the personal story; the styling carries the design.
The clearest signal that you've outgrown DIY is guest count. A table for 40 is manageable. A table for 150 that needs to look full for four hours, stay fresh, and photograph well from multiple angles is a genuinely different project. At that scale, the design and logistics of a properly managed dessert table pay for themselves in stress reduction alone.
What do couples most consistently say they didn't expect to value? The mid-reception refresh. Having someone on-site to consolidate, re-style, and replenish the table so it looks as good at 10 p.m. as it did at 7:30 p.m. is genuinely hard to replicate with a DIY setup — because the person who built the table is usually the one on the dance floor, exactly where they should be.
Here's the thing about the hybrid approach: it's also where our work with wedding dessert styling tends to start. Couples bring the sentimental bakes; we build the architecture around them — the risers, the linens, the colour-matched macarons and mini chiffon cakes that make the whole table read as one designed moment rather than a collection of individual contributions.
FAQ
- What are some DIY dessert table ideas on a budget?
- The most budget-friendly DIY dessert table builds rely on items that are inexpensive per piece but visually striking in quantity: mini meringues, chocolate bark, shortbread cookies, and brownie bites. Rent your risers and linens rather than buying them — rental companies across the GTA carry cake stands and table skirts for a fraction of the retail purchase price. Reserve your spending for one or two statement items, like a professional anchor cake or purchased macarons in your palette colours, and build the surrounding spread yourself.
- What are some DIY desserts I can serve at a wedding?
- The formats that hold up best at a wedding — where the table may sit out for three to four hours — are items that don't require refrigeration and don't wilt: shortbread cookies, brownie bites, mini meringues, chocolate bark, cake pops, and truffle balls. All of these can be made two to five days ahead, which keeps your wedding week manageable. Avoid anything with fresh whipped cream or custard unless you have reliable refrigeration at the venue and a plan for keeping items cold during service.
- What is the cheapest dessert to serve at a wedding?
- Per serving, mini meringues and chocolate bark are consistently the most cost-efficient wedding desserts you can make yourself. Both use inexpensive base ingredients, scale easily to large guest counts, and look genuinely elegant on a styled table. Shortbread cookies are a close third — a large batch requires minimal ingredients, and custom cookie cutters let you shape them to your theme. The cost-per-piece drops significantly when you make these in bulk rather than buying individually packaged items.
- How to make a sweet table for a wedding?
- Start with your palette, not your recipe list — everything else follows from the two accent colours and one neutral you choose. Select five to seven dessert formats that can be made ahead and don't require on-site assembly. Source or rent risers at three height levels to create visual depth. Assign a dedicated setup person with a printed layout diagram. Plan for a mid-reception tidy at around the two-hour mark to consolidate items and keep the table looking full. The logistics — transport, timing, and restocking — matter as much as the desserts themselves.
If you're planning a wedding in the GTA and want a quote built around your specific guest count, palette, and venue, reach out and we'll put together a proposal that covers every layer — the desserts, the styling, the delivery, and the mid-reception refresh that most DIY guides don't account for.