How to Layout a Dessert Table: A Step-by-Step Guide
A well-laid-out dessert table follows 5 core zones — anchor, height, fill, label, and frame — and the whole thing comes together in under 2 hours when you plan zone by zone. Skipping even one zone is what makes most DIY tables look flat or cluttered. Here's exactly how we build them.
What Are the 5 Zones of a Dessert Table Layout?
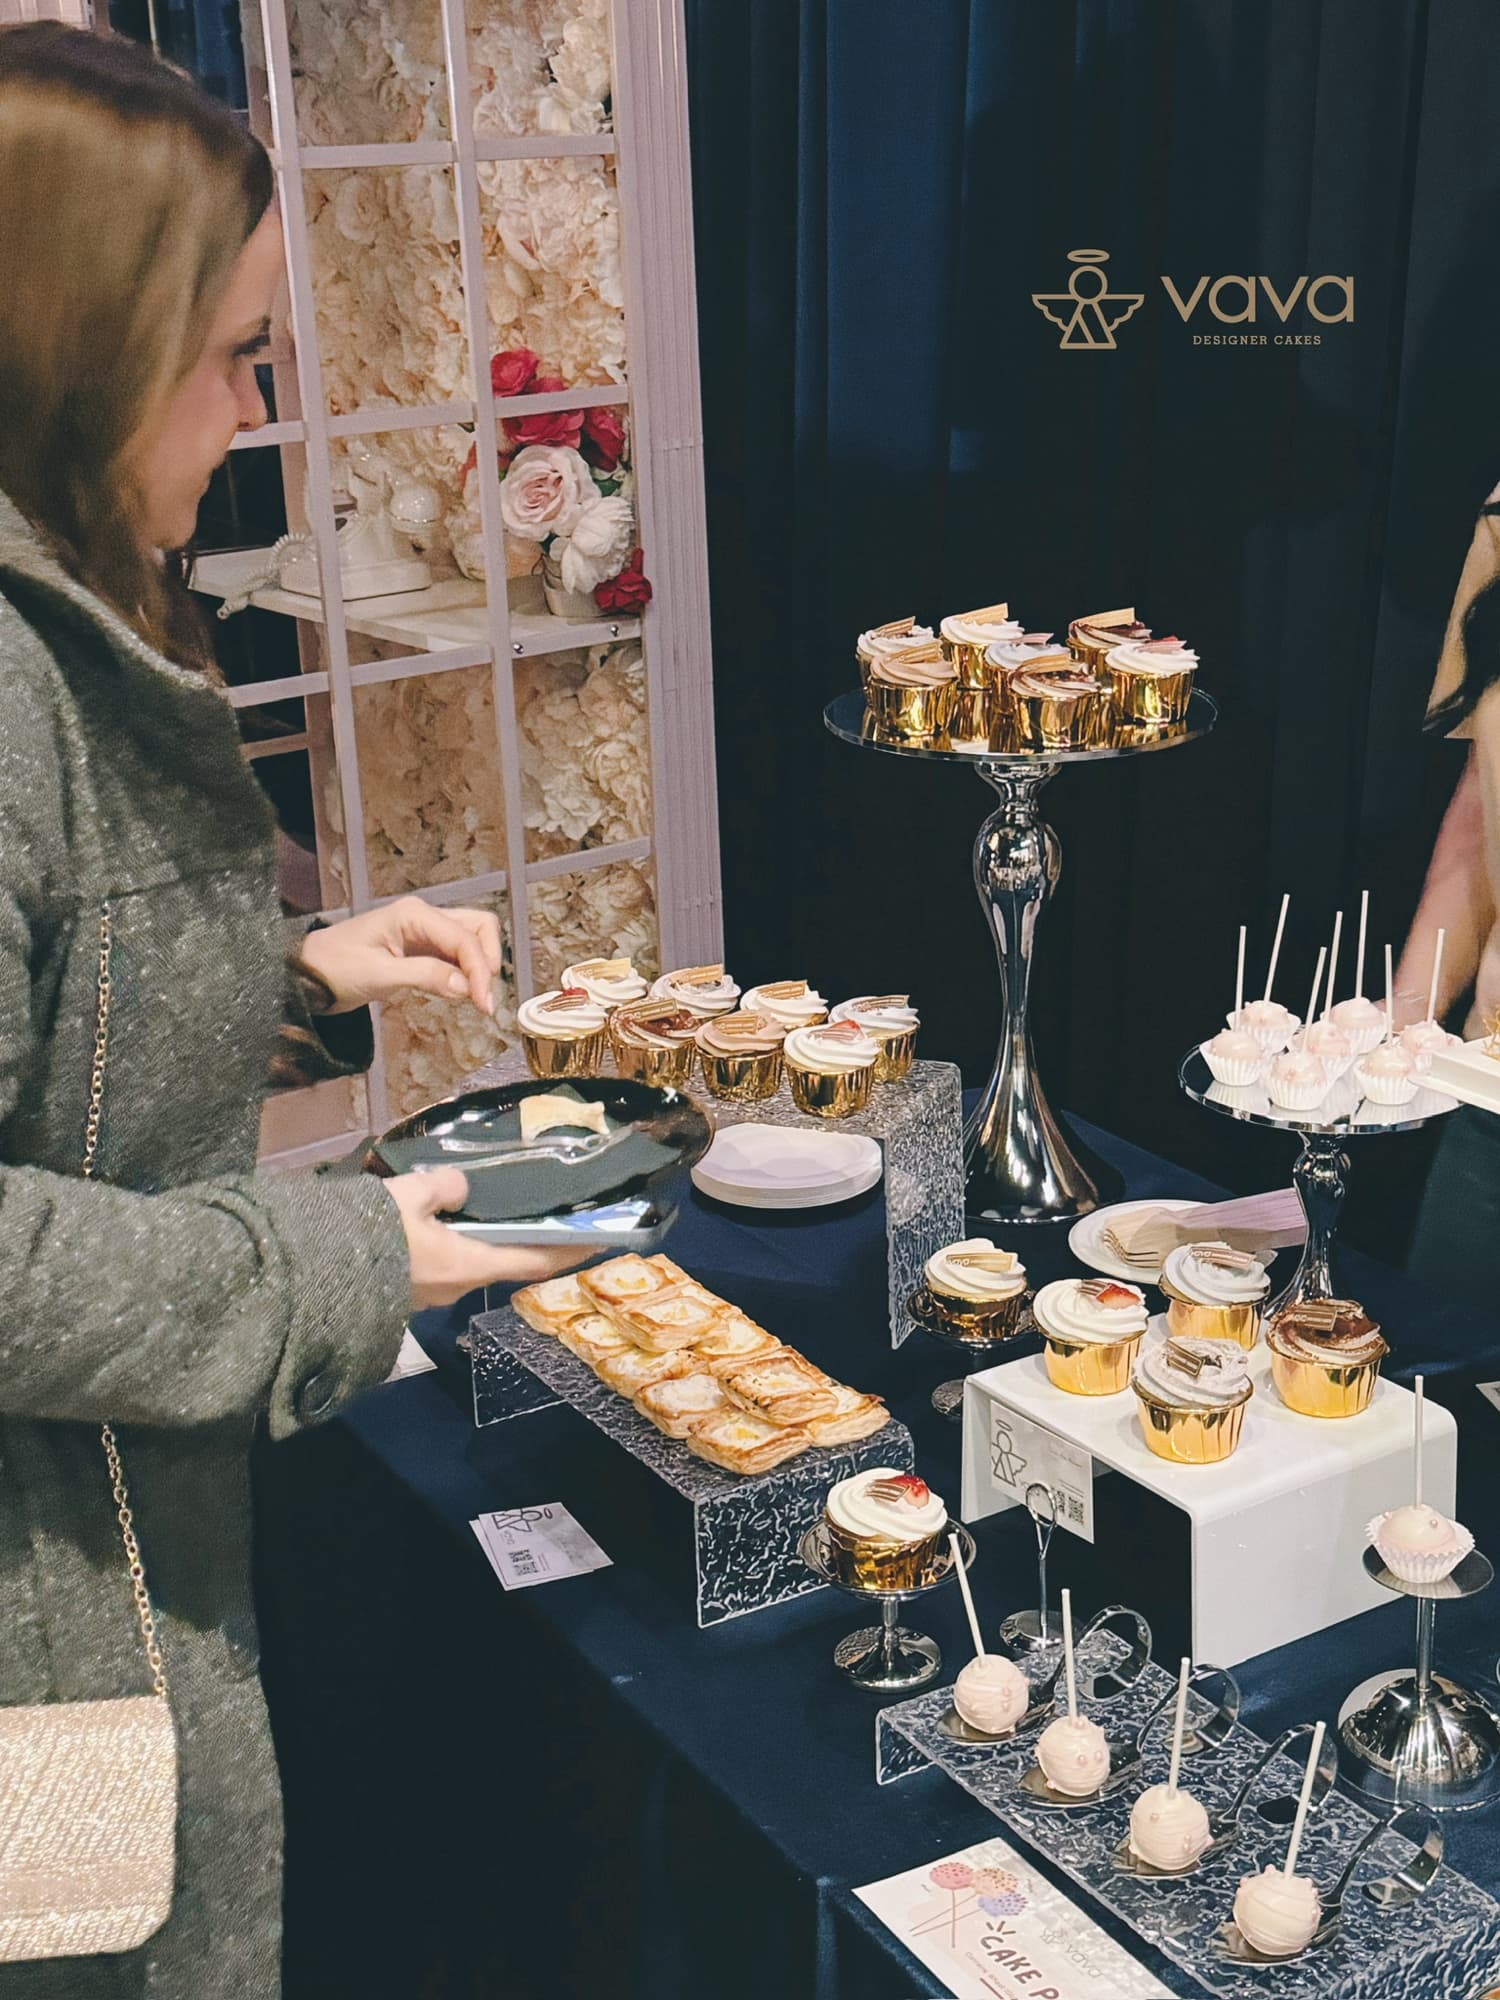
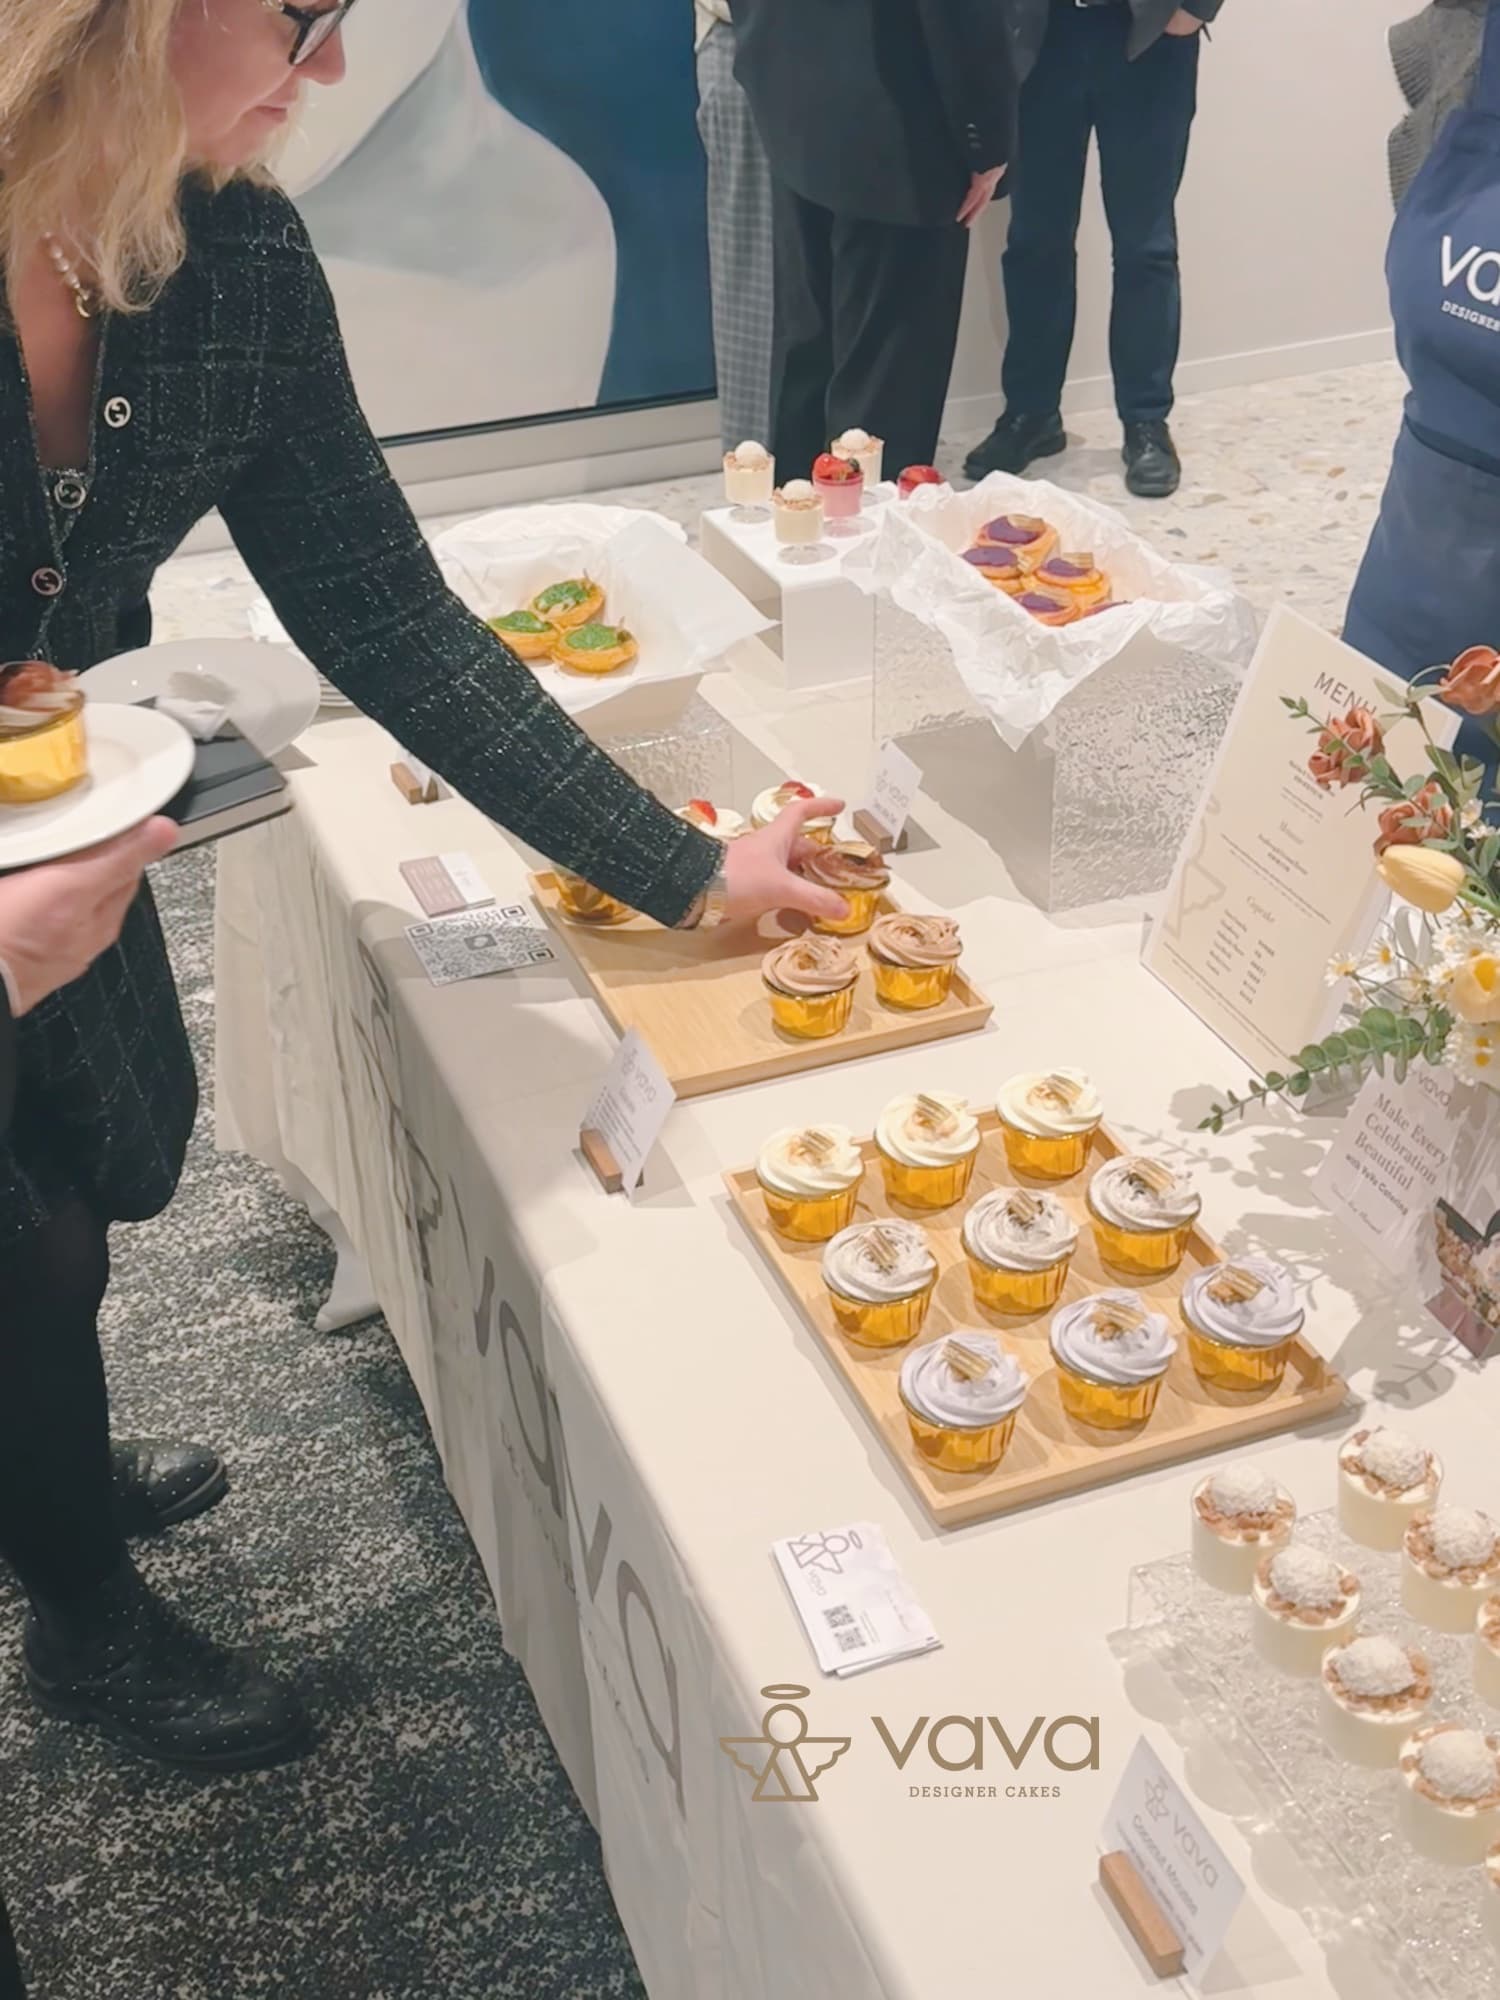
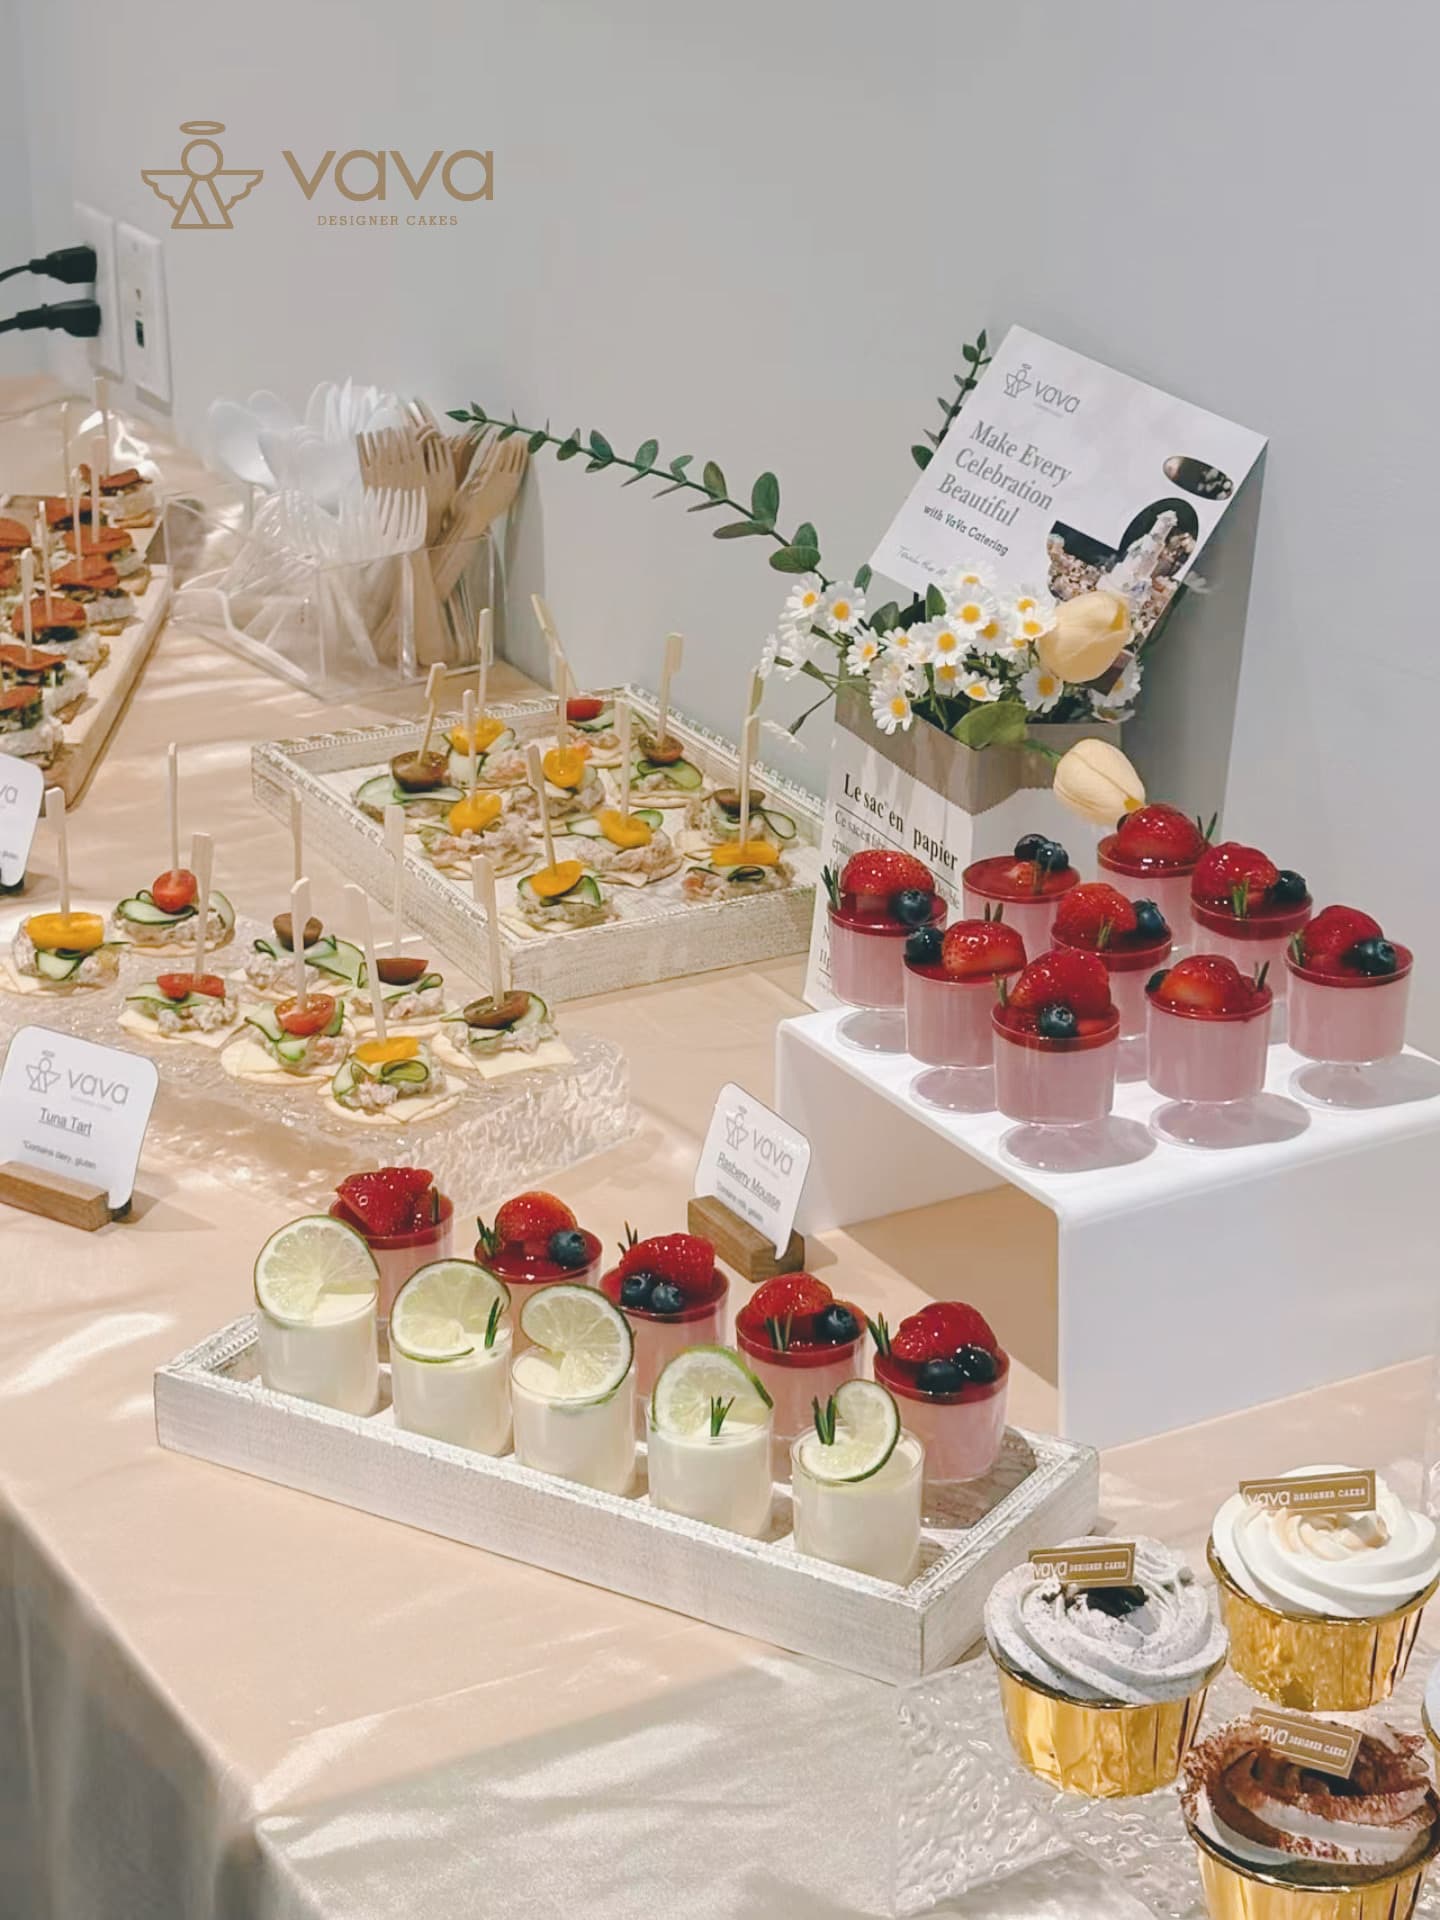
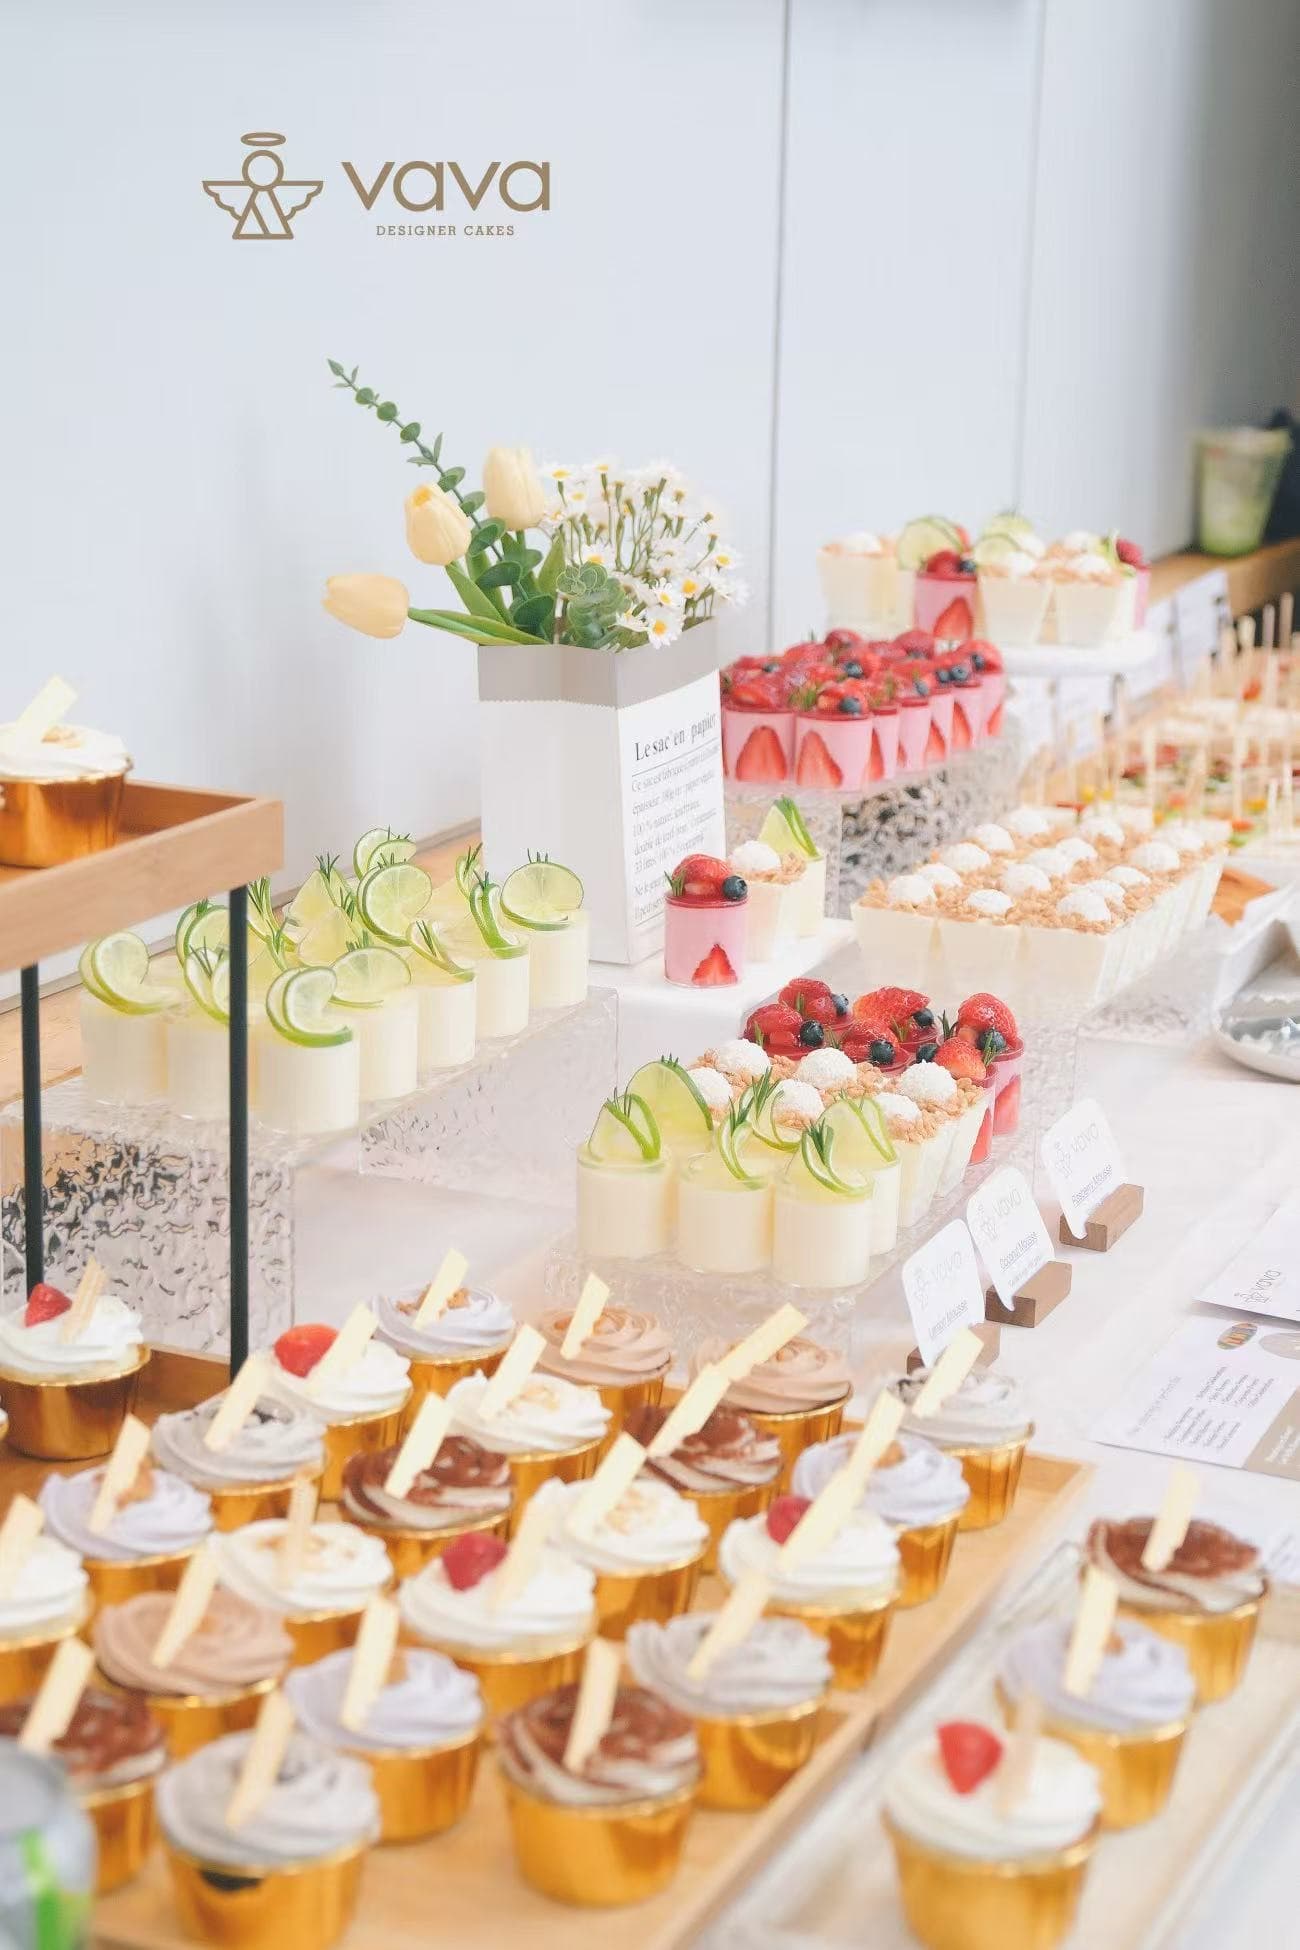
A dessert table layout is built across 5 distinct zones, each doing a specific visual job. Miss the anchor zone and guests don't know where to look first. Miss the frame zone and the table bleeds into the room with no boundary. Understanding all 5 zones before you touch a single riser is the difference between a styled table and a buffet line.
| Zone | What it does | Typical items | What moves the quote |
|---|---|---|---|
| 1. Anchor | Draws the eye to the centrepiece | Tiered cake, tall floral arrangement, oversized signage | Cake complexity, custom signage fabrication |
| 2. Height | Creates the skyline silhouette | Risers, cake stands, acrylic pedestals | Rental count, custom vs. standard risers |
| 3. Fill | Populates the surface with desserts | Mini chiffon cakes, tarts, mousse cups, macarons | Variety depth, guest count, portion count |
| 4. Label | Identifies each item and allergens | Tent cards, acrylic labels, chalkboard tags | Custom printing vs. handwritten cards |
| 5. Frame | Defines the table boundary visually | Linens, florals, greenery, balloon arches | Linen fabric, floral volume, arch structure |
How Do You Arrange a Dessert Table Step by Step?
Arranging a dessert table works best when you build from the back outward and from the tallest element down — that sequence prevents you from blocking shorter pieces with taller ones and locks in your sight lines before a single dessert is placed. Most tables that look "off" were arranged front-to-back instead of back-to-front.
- Set the linen first. Smooth it flat; creases show in every photo.
- Place the anchor piece dead-centre or at one-third. Centred reads formal; off-centre reads editorial.
- Build the height layer. Arrange risers in a staggered arc behind and beside the anchor — aim for 3 distinct height levels minimum.
- Assign a dessert type to each riser or plate. Group by type, not by colour — it makes replenishment easier during the event.
- Fill the flat surface last. Low-profile items (macarons on a tray, mini tarts in a row) go at the front edge where guests reach first.
- Add labels before guests arrive. Place them at the front of each item, angled toward the guest.
- Frame the edges. Tuck greenery or small florals at the corners and along the back line to soften hard edges.
- Step back and check from 3 metres away. If one zone looks heavy, redistribute one piece to the lighter side.
How Many Desserts Do You Need Per Guest?
A dessert table designed as the primary sweet course needs 3 to 5 pieces per guest; if it runs alongside a plated dessert or wedding cake service, 2 to 3 pieces per person is enough. Those numbers hold across most GTA weddings and milestone events we service, from 40-person baby showers in North York to 200-guest receptions in Mississauga.
- 40–60 guests: 6–8 dessert varieties keeps the table looking full without waste.
- 80–120 guests: 8–10 varieties; add a second unit of each high-traffic item (macarons go fast).
- 150+ guests: 10–12 varieties; plan for a mid-event replenishment run.
- Mini formats (chiffon cakes, mousse cups, tarts) are better than full-size slices — guests take more and waste less.
- Always over-order macarons and under-order large brownies — that ratio holds at almost every event we do.
Our dessert table service builds portion counts into every quote so you're not guessing the day before the event.
How to Design a Dessert Table Around a Colour Palette
Colour-matching is what separates a styled dessert table from a catered one. Three colours maximum — one dominant, one secondary, one accent — keeps the table cohesive without looking like a candy shop. At Vava Dessert Tables, every spread is colour-matched to the event palette down to the macaron shells, the linen, and the riser finishes.
- Dominant colour (60%): linen, largest riser, backdrop if used.
- Secondary colour (30%): smaller risers, plates, signage frames.
- Accent colour (10%): macaron shells, fresh florals, ribbon details.
- Dessert colours follow the palette — not the other way around. Choose your palette first, then specify dessert finishes.
- White or ivory as a base works with almost every palette and photographs cleanly under venue lighting.
If you're pairing a wedding cake with the table, our team works alongside wedding dessert planning so the cake and the spread are designed as one moment, not two separate orders.
What Table Size Do You Need for a Dessert Display?
A 6-foot rectangular table comfortably holds a dessert spread for up to 80 guests; go to an 8-foot table or an L-shaped configuration for 100 or more. Table size affects how the height zones read — a cramped table forces risers together and kills the visual breathing room that makes a table look designed rather than packed.
- 4-foot table: suits 20–30 guests; works for intimate showers and small corporate events.
- 6-foot table: the GTA standard for most milestone events up to 80 guests.
- 8-foot table: needed for 100+ guests or when the anchor piece is particularly tall.
- L-shape or two-table configuration: best for 150+ guests or when the venue has a long wall to work with.
- Round tables work for cocktail-style setups but make replenishment harder — rectangular is almost always better for dessert displays.
Venue logistics — load-in access, table rental availability, room flow — all factor into the setup. When we handle dessert catering for corporate events across Scarborough and downtown Toronto, the room layout brief comes before the table design brief, every time.
Things to Know Before You Plan Your Dessert Table
Most layout mistakes happen before the day of the event, not during setup. Here are the caveats that matter most.
Lead time is longer than most people expect. For weddings during peak season (May through October in the GTA), booking 3 to 6 months ahead is standard. For milestone events like baby showers or graduations, 4 to 6 weeks is the minimum for custom colour-matched work. Booking late compresses the design process and limits variety options.
Venue rules vary more than you'd think. Some venues in Vaughan and Markham restrict outside catering or require licensed vendors. Others have load-in windows as short as 30 minutes. Confirming venue logistics before finalising the table configuration saves a lot of stress the week of the event.
Temperature and humidity affect desserts differently. Mousse cups and chiffon cakes need a cooler room or a shaded table position — direct sunlight or a warm room near a kitchen door can compromise them within an hour. If your venue runs warm, tell your dessert team early so they can adjust the item mix.
Mid-reception replenishment is often overlooked. A table that looks beautiful at 6 PM can look picked-over by 7:30 PM. Building a refresh moment into the timeline — where the team restyles and replenishes — keeps the table photogenic for the full event. This is something we build into our sweet table packages by default, because the second wave of guests deserves the same experience as the first.
Allergen labelling is not optional. In Ontario, guests with nut, dairy, or gluten sensitivities will ask. Clear labels on every item — not just the ones that "obviously" contain allergens — protect your guests and reduce awkward conversations mid-event.
Frequently Asked Questions About Dessert Table Layouts
- (common question we hear) How far in advance should I plan a dessert table layout?
- For weddings during the May–October peak season in the GTA, plan 3 to 6 months ahead. For milestone events like baby showers or birthdays, 4 to 6 weeks is the practical minimum for custom colour-matched work. Booking later limits variety options and compresses the design process.
- (common question we hear) How many items should be on a dessert table?
- Six to eight dessert varieties works well for up to 80 guests. For 100 or more guests, 10 to 12 varieties prevents any single item from running out early. Always plan 3 to 5 pieces per guest if the dessert table is the primary sweet course at the event.
- (common question we hear) What do you put on a dessert table first?
- Set the linen first, then place your anchor piece — typically the tallest or most elaborate item. Build height risers next, then assign dessert types to each level. Fill the flat front surface last with low-profile items like macarons and mini tarts that guests reach for first.
- (common question we hear) How do you make a dessert table look full?
- Use 3 distinct height levels with risers, group desserts by type rather than spreading them thin, and fill gaps with small decorative props or florals. Mini-format desserts like mousse cups and tarts cover surface area more efficiently than full-size pieces and look more abundant per square foot.
- (common question we hear) Do you need a backdrop for a dessert table?
- A backdrop is not required but it anchors the table visually in photos and stops the eye from wandering to the wall behind it. A simple fabric panel, a floral wall, or a balloon arch all work. For smaller events or intimate venues, a tall floral arrangement at the anchor point can do the same job.
Ready to build a dessert table that actually looks the way you're imagining it? Send us your event details and we'll put together a layout and quote built around your guest count, palette, and venue.